Making reusable components in PowerApps is a great way for developers to speed up app development. With PowerApps’ low-code features, you can create components that include visuals and logic. This helps keep the user experience consistent across your apps. Plus, it saves time and makes it easier to keep your apps running smoothly as needs change.
Components let you build parts that can be used in different screens and apps. Whether you need a custom form, a menu, or a display card, you can create these once and then use them anywhere. This way, you don’t have to repeat yourself. If you update a component, it automatically updates everywhere. That cuts down on mistakes and keeps things uniform.
In this guide, we’ll talk about how to create and use custom components in PowerApps. We’ll cover setting up your work environment, making new components, and adding them to your apps. We’ll also share tips for managing and updating these components so your apps stay easy to work with. By the end, you’ll know how to build handy, reusable components that boost both the function and experience of your PowerApps projects.
Components and Component Libraries
Power Apps lets you create components that can be used again and again. These components mix design and logic. This way, you can keep your app looking consistent and save time.
For example, if you design a custom input form with text boxes, dropdowns, and buttons, you only need to build it once. You can then use that same form on different screens. This keeps your app neat and saves you a lot of effort.
If you want to step it up, you can make a component library. This library is a place where you keep and share your components for various apps. By doing this, you ensure a smooth user experience and work faster.
Creating a Component

- Launch your Power Apps app and navigate to the Tree View.
- In the Tree View, click on the Components tab to manage your custom components.
- Click on New component to open an empty canvas where you can design your component.
- Add various controls to the canvas to define your component. Any changes made here will automatically update all instances of this component across different screens in your app.
- Insert the Component into a Screen:
- Select a screen in your app where you want to use the component.
- In the left pane, choose the component from the list of existing components.
- Insert an instance of the component onto the screen, similar to how you would insert a control.
- Locate Components in the Tree View:
- Components created within the app are listed under the Custom category.
- Components imported from component libraries are listed under the Library components category.
Creating a Component Library:
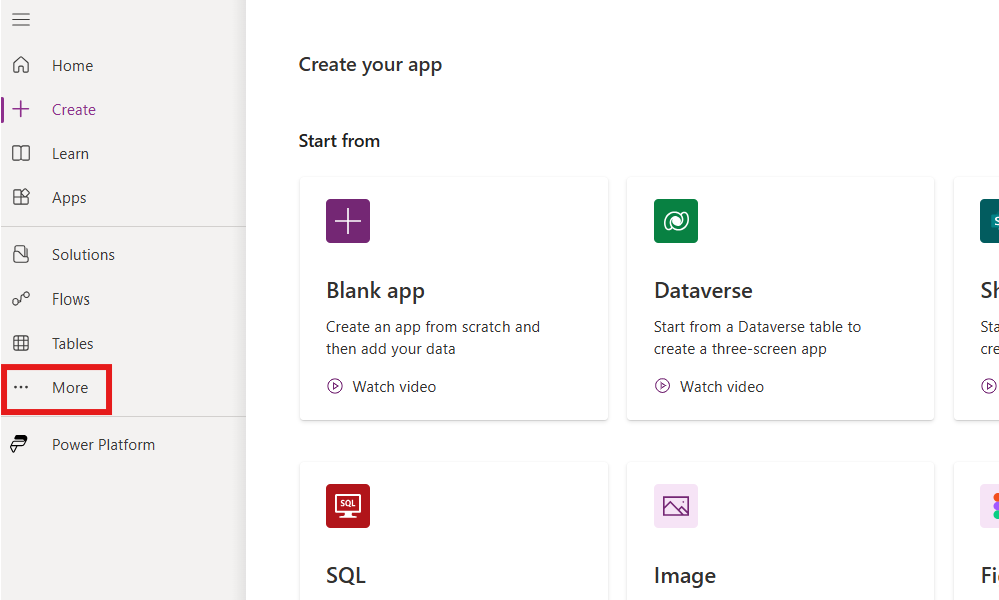
- Go to the Apps section of make.powerapps.com and choose More.
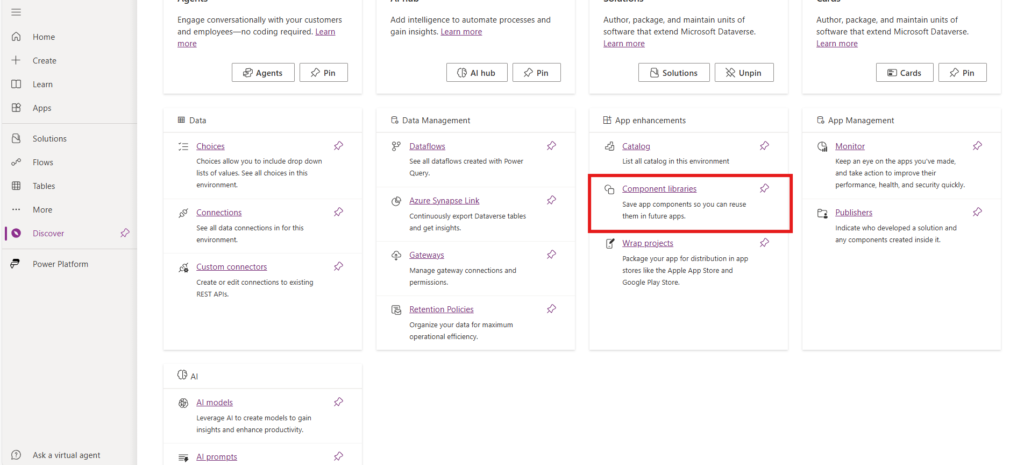
- Out of the More Options Click on Discover All. The URL will be something like https://make.powerapps.com/environments/<environment-id>/discover
- Click on Component Library
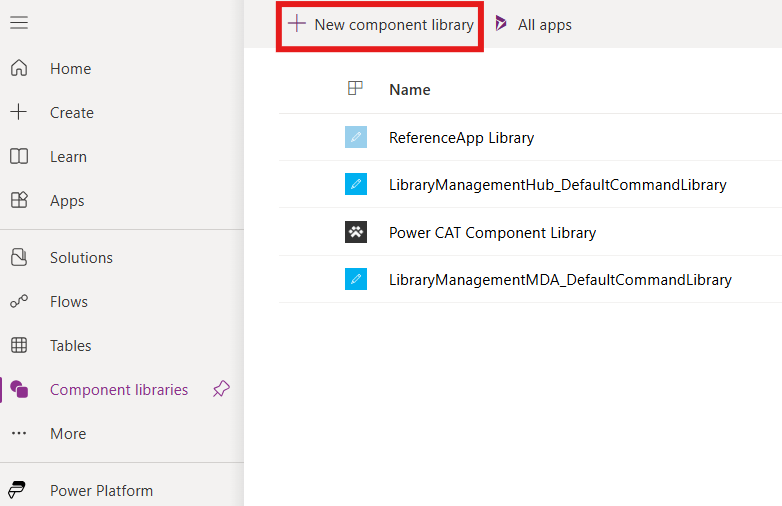
- Select the + New component library button.
- Give the component library a name and click Create.
Getting Components from a Library:
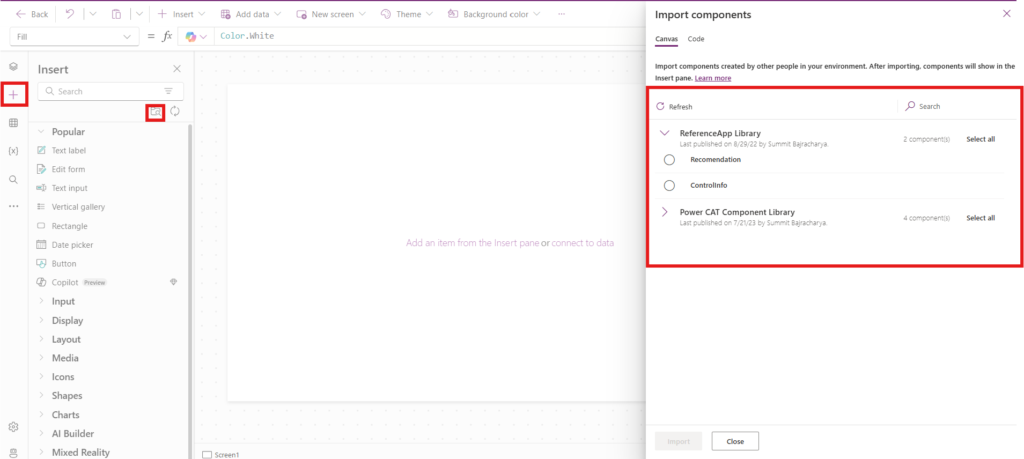
- Go to make.powerapps.com and create a new app.
- Select the Insert icon and click Get More Components.
- Choose the component library and select the component you want to import.
- Click Import.
Making Changes to Components in a Library:
- In your component library, make the desired changes to the component.
- Save and publish the component library.
Updating Components in Apps:
- Open the app that uses the component.
- A prompt will appear about an update being available. Click Review.
- Select the component library with the update and click Update.
Conclusion
To wrap things up, making reusable custom components in PowerApps is a smart way to boost how well your apps work. With PowerApps’ low-code features, you can build components that combine the look and functionality you need. This helps keep things steady and easy for users across your applications. Plus, it saves you time when developing. If you need to update something, just change it in one place, and it updates everywhere you used that component. By following the steps in this guide, you can create and use custom components in your PowerApps. This will help you create strong applications that fit your business needs.